




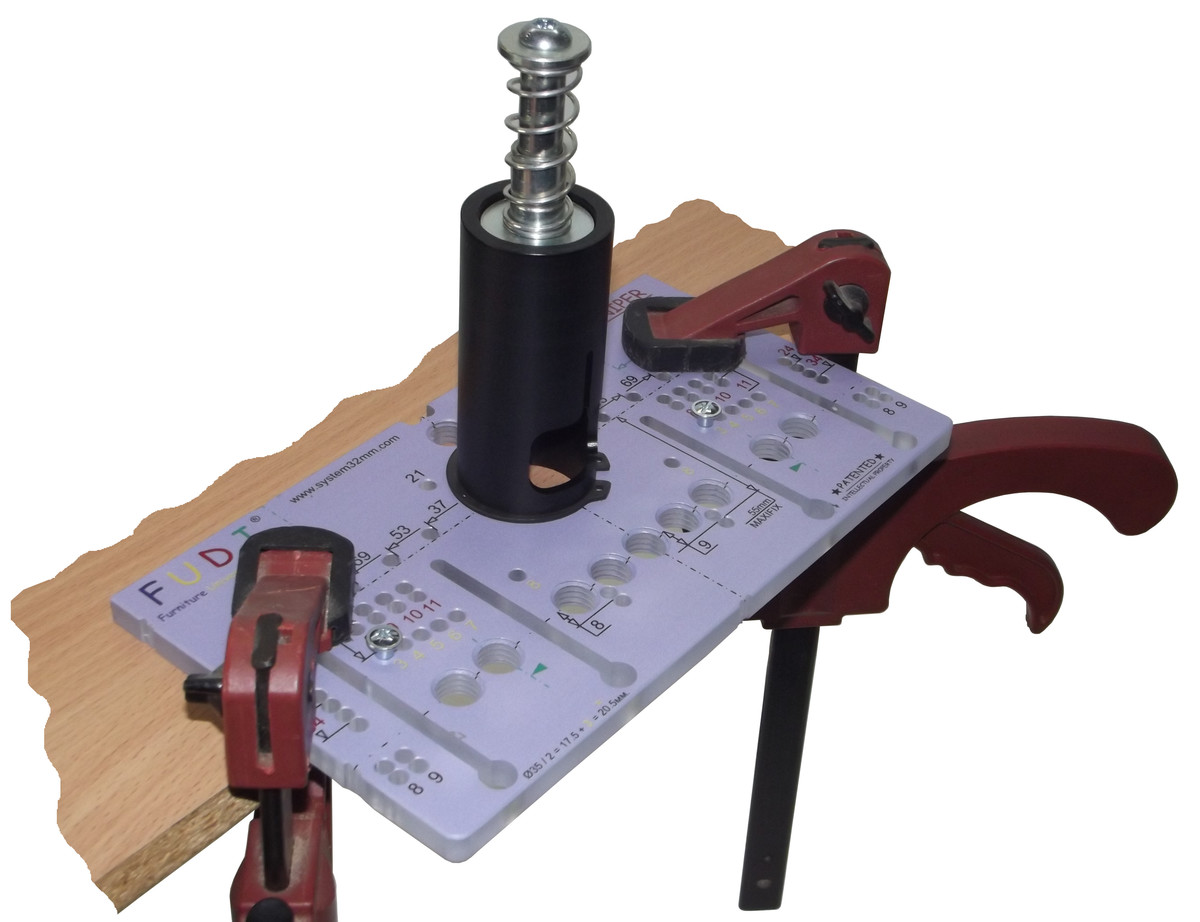


Description
Milling operation for a cup of furniture hinge (from any manufacturer!).
Maximum diameter not more than 35 mm
Milling operation for a cup of body strainers fastners :
Hafele Tab 20 HC
Hafele Minifix 12 и Minifix 15
Hafele Minifix 15 Carbogloss
Hafele Rafix 20
Hafele Rafix 20 Tab
Hafele Tab 18
Hafele Rasant-Tab
Hafele Slimfix
Hafele Onefix
Hafele Pushfix
Hettich Rastex 12 и Rastex 15
Hettich VB 35 и VB 35 M
Hettich VB 135
Hettich VB 54
Hettich Everfix
и других моделей.....
Specify the hardware specifications from your supplier.
Order the rod for mill forstner separately!
Maximum diameter of milling cutters used – up to 35 mm incl.
Diameter of shank of milling cutters used - 8 mm. 10 mm. 12 mm.
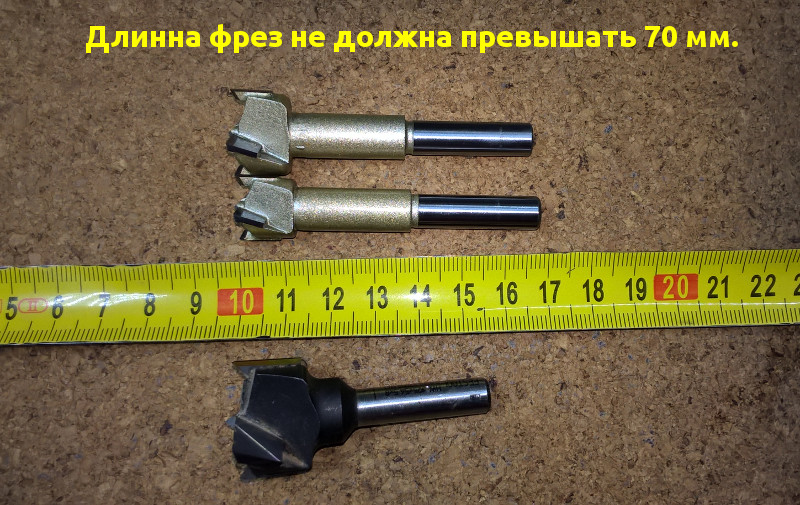
Advice: use milling cutters with short “tips".
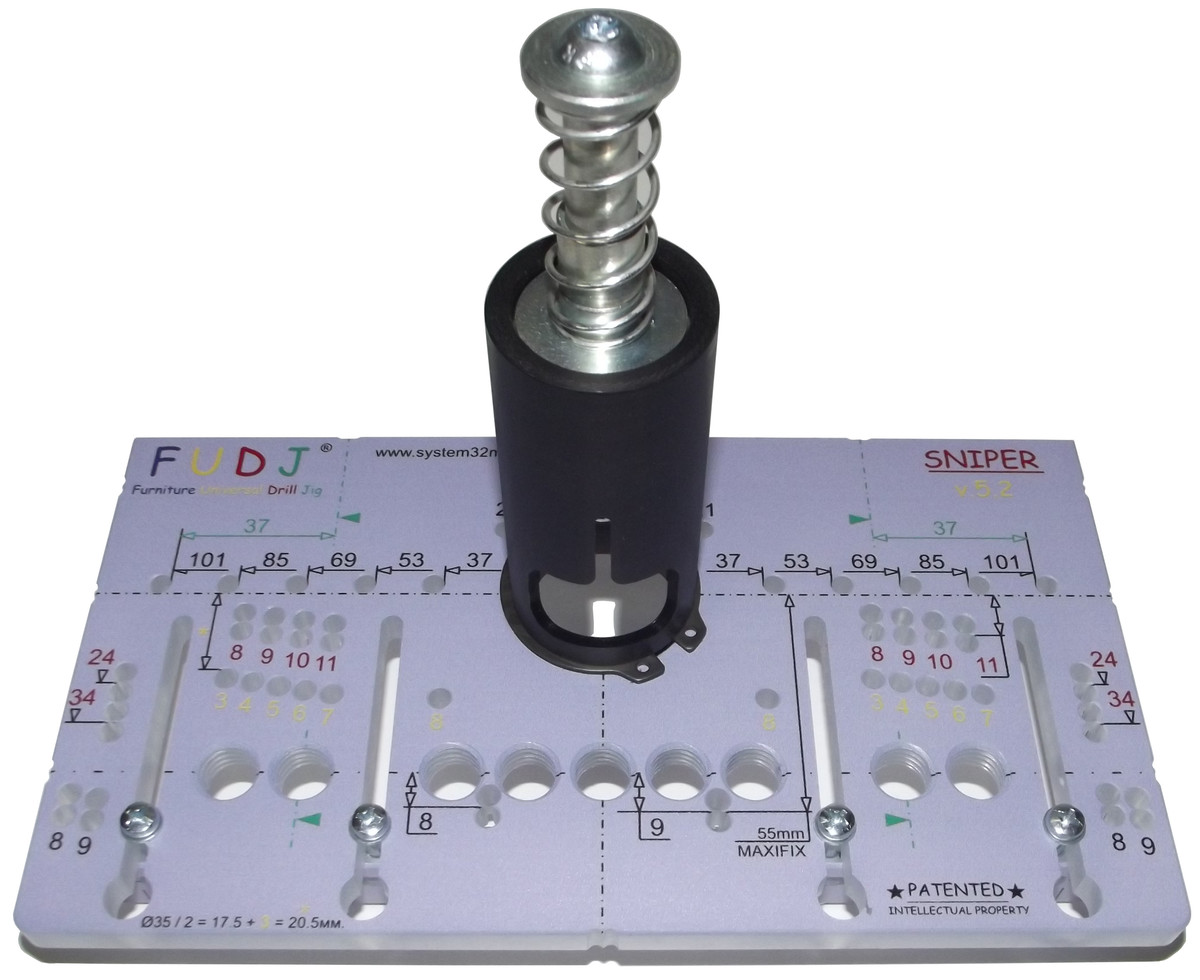
The template has adjustable stop. It is possible to set “standard" sizes or to set own size.
“Standard" distances:
1. From 3 mm to 8 mm - distances for milling for furniture hinges. In a similar way to BLUM.
2. Distance for milling for case fasteners (Hafele Rafix or Hettich VB 35) - 8 mm, 9 mm, 10 mm, 11 mm.
3. Distance for milling for case fasteners (Hafele Minifix or Hettich Rastex) - 24 mm, 34 mm.
Configuration:
1. Milling template - 1 pc.
2. Template stop limiter - 1 pc.
3. Stop limiter fittings:
3.1. Thumb-screw, DIN316 M5х25 AF zinc. - 2 pcs.
3.2. Washer, DIN433 M5 zinc. - 4 pcs.
3.3 Square nut, DIN562 М5 zinc. - 2 pcs. (there are fixed in template`s stop limiter)
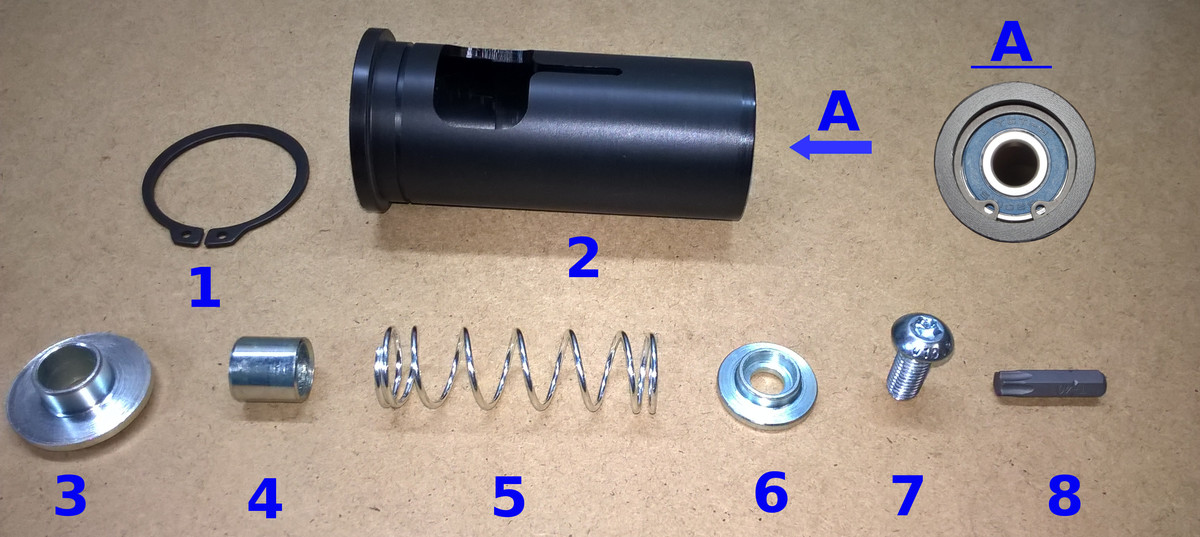
5. Housing with press fitted bearing - 1 pc.
6. Big plug - 1 pc.
7. Little plug - 1 pc.
8. Adaptor (for milling cutters with dimension over 50 mm) - 1 pc.
9. Spring - 1 pc.
10. Screw М8х20 DIN7984 grade 8,8 zinc. TORX - 1 pc.
Order the rod for mill forstner separately!
Milling for furniture hinges:
1. Setting of milling cutter and adjustment of drilling depth.
1.1. Insert the milling cutter into rod.
1.2. Adjust milling depth.
1.3. Fix milling cutter in the rod.
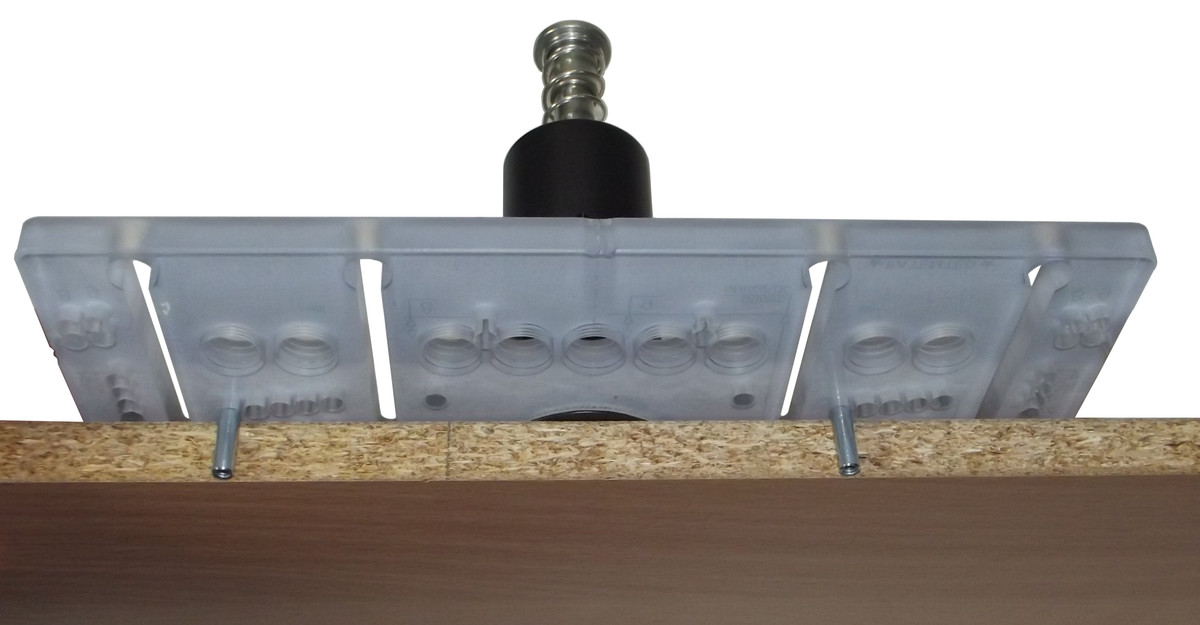
2. Setting of template stop limiter (sets jig position from the edge of the woodpanel).
Standard connecting screws (like Hettich VHS 32 for example) of Ø 5 mm will serve as the stop limiters.
2.1. Insert two connecting screws into necessary holes.
3. Milling jig is ready to operate. Milling.
3.1. Mark the place for milling at the work piece.
3.2. Place the jig at work piece, having matched the mark with axis point.
3.3. Fix the jig at the work piece using clamps.
3.4. Perform milling.
Milling for furniture fasteners:
1. Setting of milling cutter and adjustment of drilling depth.
1.1. Insert milling cutter into rod.
1.2. Adjust the milling depth.
1.3. Fix milling cutter in the rod.
2. Setting of template stop limiter.
2.1. Insert two connecting screws into necessary holes.
2.2. Put template's movable edge stopper into these connecting screws.
2.3. Fix movable edge stopper using thumb-screws
2.4. Remove connecting screws from the template.
2.5. Screw Ø 8 mm drilling bushings both into template's edge stopper and side holes.
3. Milling jig is ready to operate. Milling.
3.1. Perform center drilling for dowels at the work piece (using Ø 8 mm drill).
3.2. Position the jig at the work piece using the dowel's holes,
having inserted an Ø 8 mm drill bit in previously drilled hole (into the edge of the work piece) for dowel through bushing.
3.3. Fix the jig at the work piece using clamps.
3.4. Perform milling.
1. Accuracy. Two bushings are used in the device. There are always two bearing points. In the result we receive good accuracy.
2. Reliability. The simpler the item is, the more reliable it is. Minimum amount of parts leads to the minimum in breaking factor.
3. Universality. There is an opportunity to use milling cutters of different length. L=50 mm or L=70 mm
Also it is possible to use milling cutters with different diameters of the shank. Namely, 8 mm / 10 mm / 12 mm.
4. Operation speed. System setting takes little time. But the milling itself is performed even faster!
Наши рекомендации для комфортной работы.
1. Сделайте "лыску" на хвостовике фрезы перед тем как её вставлять в шток.
Установочными винтами постарайтесь упереться именно в эту "лыску".
Это даст винтам крепко зафиксировать фрезу в штоке.
И предотвратит прокручиванию фрезы в штоке.
Если фрезу прокрутит, то винты нарежут две канавки и это затруднит вытягивание фрезы из штока.
2. Для каждой фрезы советуем использовать свой шток.
Чтоб процесс перенастройки был максимально быстрым и комфортным.
3. В идеале иметь несколько кондукторов.
Каждый из которых настроен на определенную задачу.
Например: один под фрезерование стяжек а другой для фрезерования под петли.
4. Используйте фрезы с коротким центральным "носиком".
Так Вы гарантированно профрезеруете отверстие на нужную глубину и не повредите заготовку с обратной стороны.
Reviews
No posts found